Bridging Meshes with MQTT
I've been diving into Meshtastic lately, and one of the more interesting configurations I've set up is setting a local mesh network over the internet using MQTT.
The Architecture
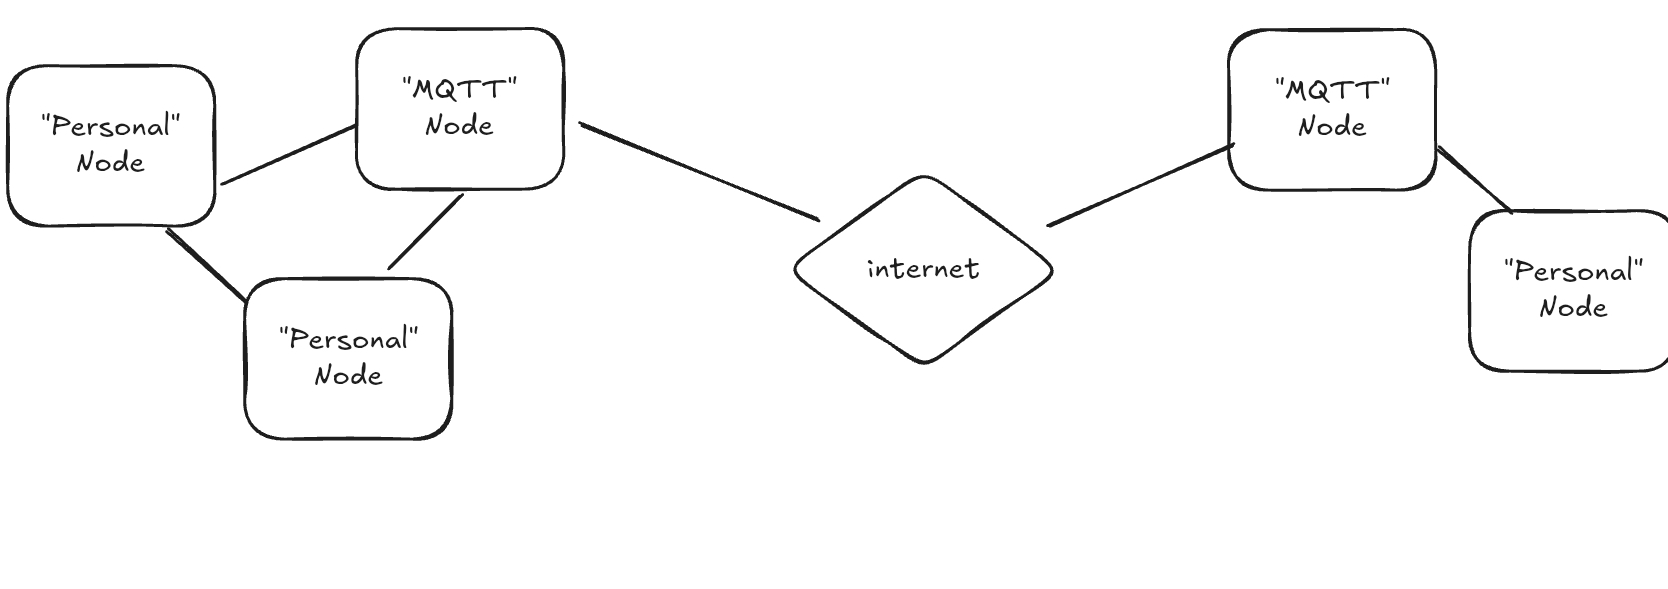
The setup is straightforward but powerful:
- Local mesh clusters: Each location has personal nodes communicating via LoRa
- MQTT gateway nodes: A WisMesh device at each site acts as the bridge
- Internet backbone: The MQTT gateways connect through the internet, linking the two meshes
This means messages sent on one local mesh hop through the MQTT gateway, traverse the internet, and pop out on the remote mesh - all transparent to the end users.
Why This Matters
Pure LoRa mesh has range limitations. Even with good line-of-sight and proper antennas, you're looking at maybe 10-15 miles in ideal conditions. But with MQTT bridging:
- Unlimited range: If both sites have internet, distance doesn't matter
- Redundancy: Local mesh still works if internet goes down
- Hybrid resilience: Best of both worlds - RF for local, IP for long-haul
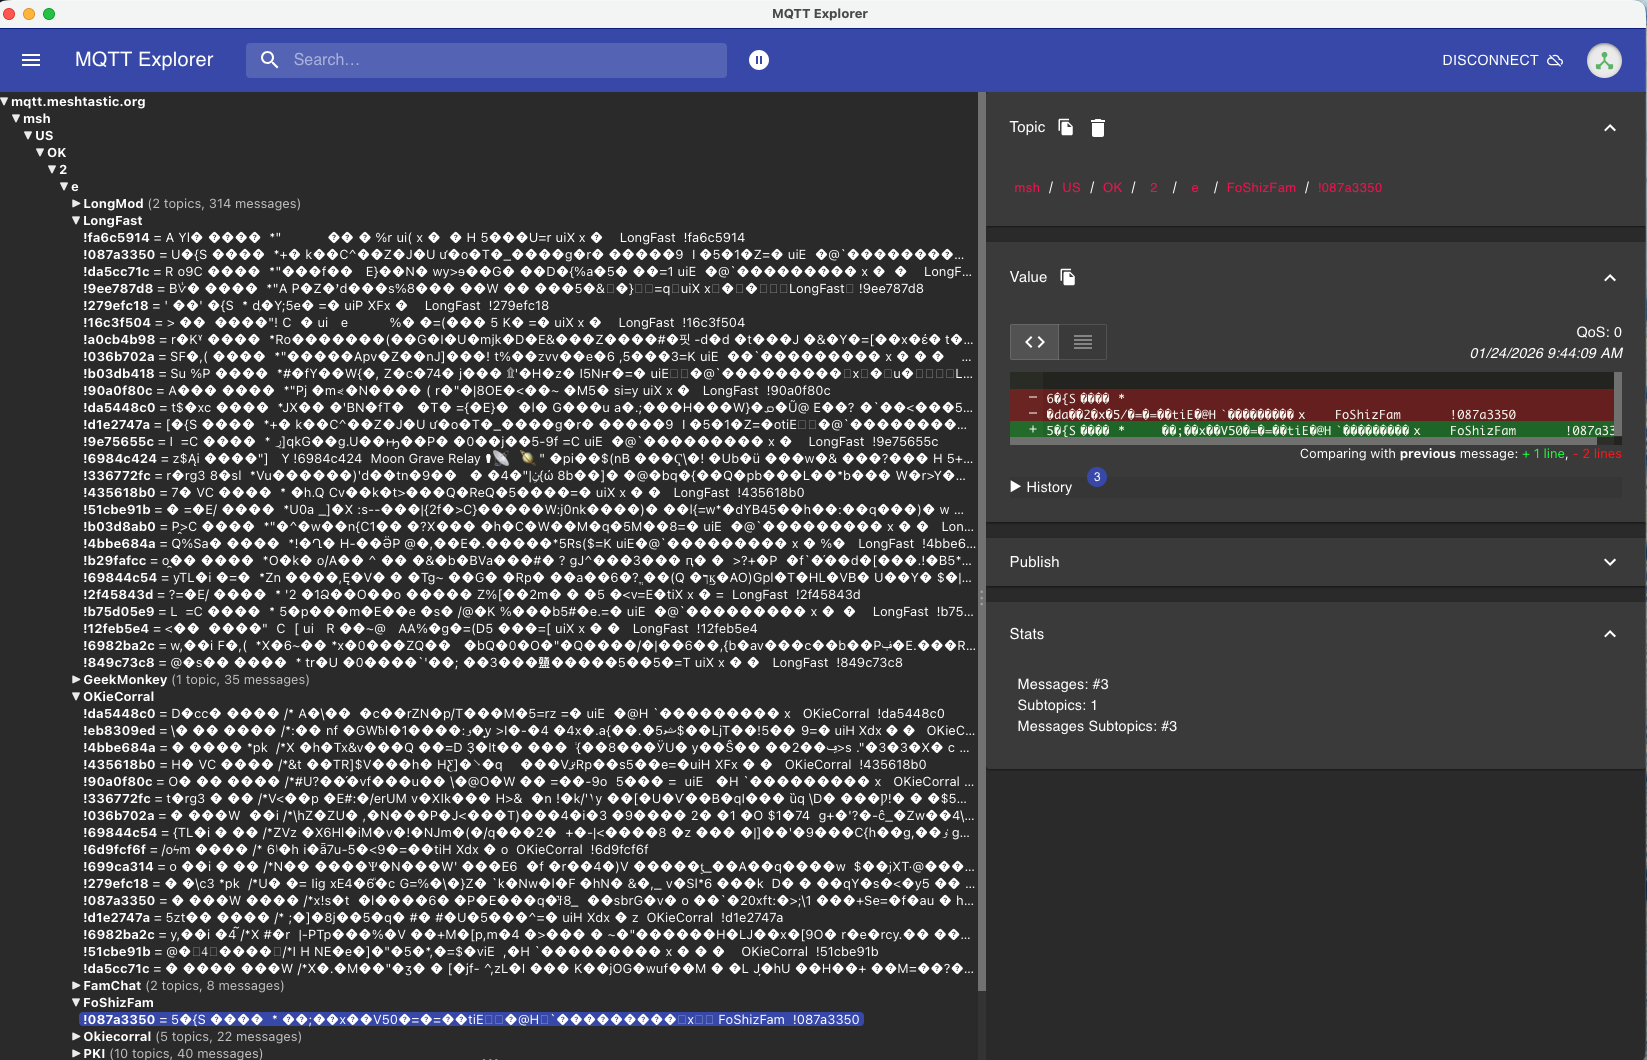
When using MQTT Explorer, you can see the different channels that are routing over the MQTT broker, making it easy to monitor traffic. Note, this is using encryption, so you'll need to know the keys to decrypt.
The Hardware
I'm using RAK WisMesh devices for this setup:
- WisMesh MQTT Gateway - Acts as the MQTT gateway, bridging RF to internet
- WisMesh Repeater Mini (Solar) - Mounted on my flagpole for elevated coverage
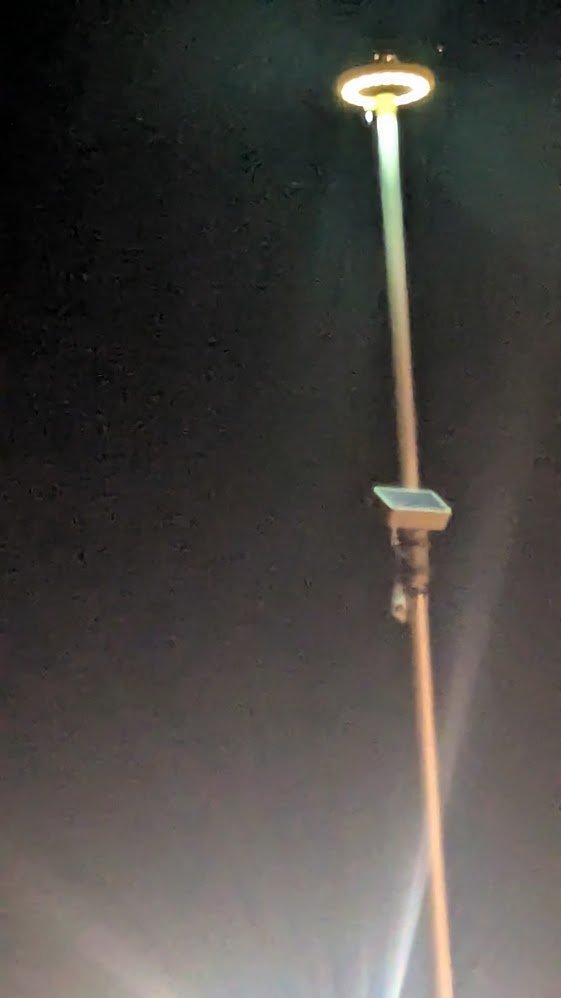
The solar repeater is a great solution, in that there is no power runs needed, and the flagpole gives it the height advantage that LoRa loves. More elevation means better line-of-sight to other nodes.
The MQTT gateway configuration is clean; point it at your broker, set up your channels, and messages flow bi-directionally between the RF mesh and the MQTT topics.
What's Next
This is just the beginning. The real fun starts when you add:
- Sensor nodes pushing telemetry
- Position tracking across sites
- Integration with home automation via MQTT
More to come as I expand the network.